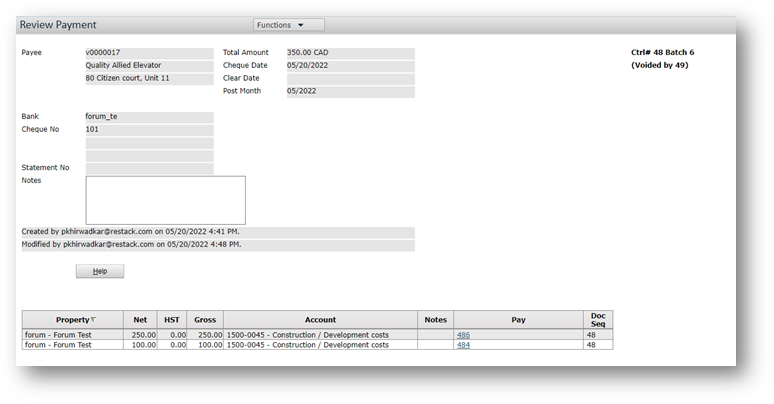
This article explains in detail how to create payables to voiding checks
Creating Payables
- Select Payables > Payable Processing > Create Payable Batch. The Batch Payable screen appears.
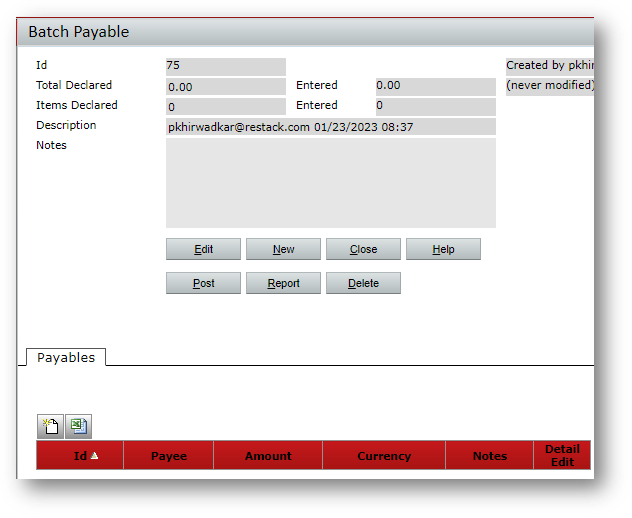
- Complete the top part of the screen (the batch header).
- If you are not using batch controls, you can leave everything blank and click Save.
- In the Payables tab, click the New Record button. The Payable Invoice screen appears.
- Complete the screen. The following sections describe the screen in detail.
- When you have entered all the Payable Invoices, return to the top part of the screen (the batch header). Adjust the Total Declared and Items Declared fields, if needed, and click Post.
Payable Invoice Screen
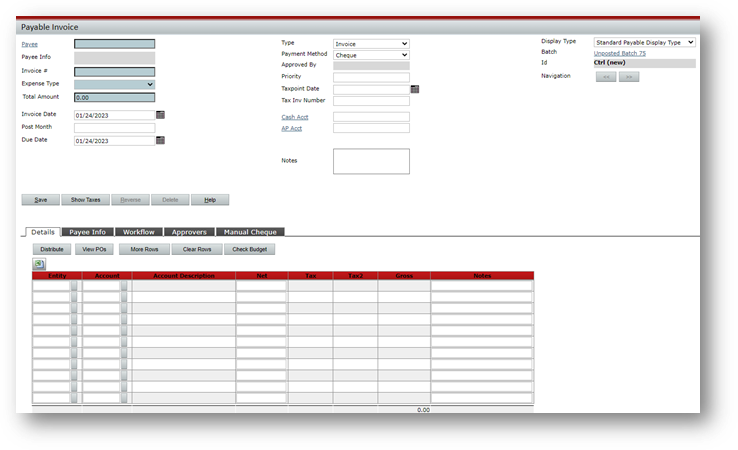
The following fields require explanation:
Type:
- Invoice The default type. Payables are typically created to record invoices.
- Adjustment A payment made outside of the Voyager system that should be accounted for within the system. For example, you would use an adjustment to account for a mortgage payment automatically deducted from your bank account.
- Credit Used to record a credit invoice from the vendor that will be used on other purchases. A positive total amount on a credit reduces the amount you owe or have paid to the vendor. When recording a credit against a previous invoice, you can assign the same G/L account used for the original invoice or credit another appropriate account.
Invoice Number: Enter the invoice number. Single quotes are not supported in this field.
Payee Info Tab:
- Hold Payment If selected, you cannot commit payments or process payments for this invoice.
- Consolidate Checks If selected, multiple payables to the same vendor are paid with one check.
Reviewing and Editing Payables
This procedure describes searching for individual payable records (posted payables).
To find unposted payables, use the procedure for finding payable batches and select Open in the
Batch Type field.
To review and edit payables
- Select Payables Payable Processing Review Payable. The Payable filter appears.
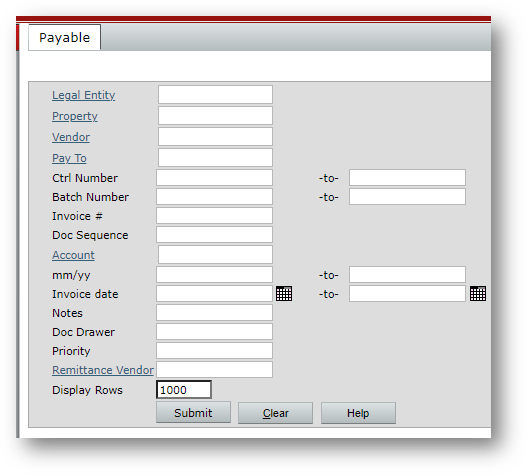
- Complete the filter and click Submit.
- The Payable screen appears.
Finding Payable Batches
In Voyager 7S, batch records are available after you post the batch. You can search for a particular batch and view the batch header as well as individual items in the batch.
To find payable batches
- Select Payables Find Payable Batches. The Payable Batch Filter screen appears.
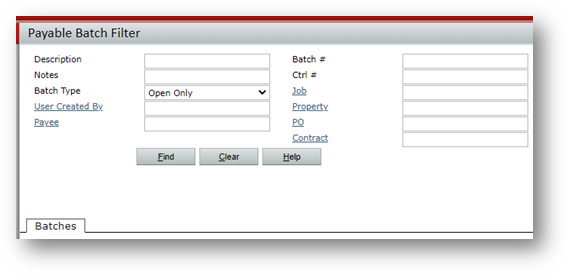
- Complete the top part of the screen. The following field requires explanation:
Batch Type
Open Only Show only unposted batches. (Unposted batches are “open” because you can edit them — you can add or delete payables. Posted batches are “closed.”)
Empty Only Show only empty batches (batches that have a header but no payables).
All Show posted and unposted batches, including empty batches. - Click Find. Voyager displays the matching batches.
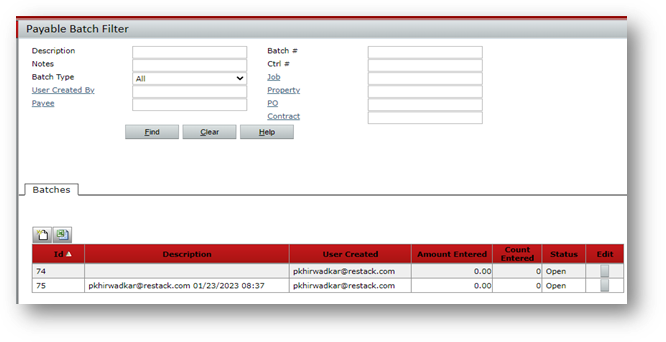
- To view a batch, click the Edit button. The Batch Payable screen appears (the batch header).
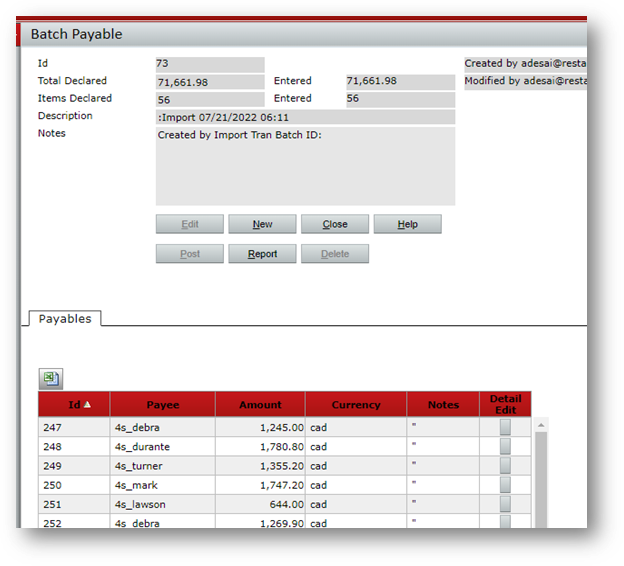
- In the Batch Payable screen, you can do the following:
-
- Drill down to individual records (for posted and unposted batches).
- Edit and post the batch (if it is unposted).
- Run the batch report (for posted and unposted batches).
Commit Payments
The Commit Payments step occurs after you have posted the payables, and before you process payments.
It is an approval step -- it marks the payables as ready for payment. Typically, this step is performed by a manager, not the person who entered the payables, and not the person who will process the payments.
You can approve the whole amount, or you can approve a partial payment.
To commit payables
- Select Payables Payments Commit Payments.
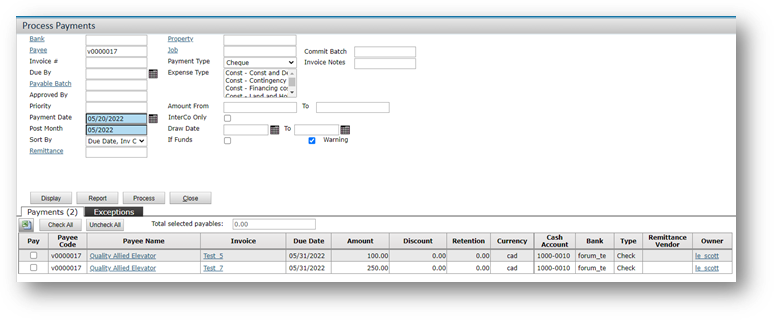
- The top part of the screen is a filter. Complete it as needed.
- Click Display. The Payments tab appears, displaying payables that are ready for approval. The Exceptions tab shows payables that cannot be committed, due to errors.
- Select the appropriate check boxes in the Approve column. To approve all payables on the list, click Check All.
- Review the amounts in the Amount to Pay column, and change them as needed.
- Click Commit to approve the selected payables. Voyager saves your approval selections, and updates payable records. The Commit Payments Report screen appears, displaying the approved payables.
Processing Payments
The Process Payment function creates a payment for each payable (either a check or an EFT payment).
To process payments
- Select Payables Payments Process Payments. The Process Payments screen appears.
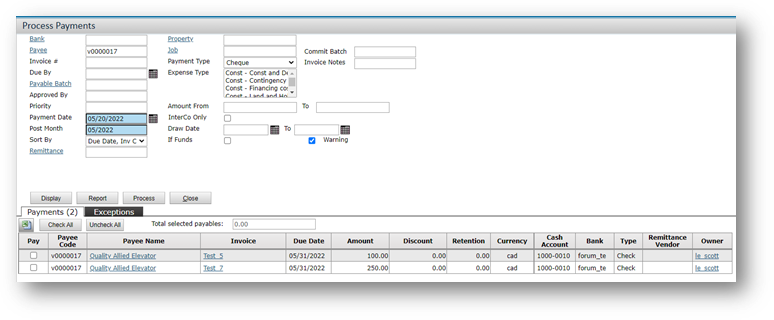
- The top part of the screen is a filter. Complete is as needed to select the payables you want to process. In the Payment Type field, select Check or EFT.
- Click Display. The Payments tab appears.
- Select the check boxes in the Pay column for the payables that you want to process. To select all payables, click Check All.
- Click Process. Voyager creates checks or EFT payments.
Voiding Checks
If a check has not been reconciled, you can void it. Voyager creates a new payment record with a negative amount to back out the original one.
When you void a check, you can also reverse the associated invoice (the payable). In this case, Voyager creates a new invoice with a negative amount to back out the original one.
You can void checks by selecting a function from the side menu or by clicking the Void button on a payment record. If you want to void a number of checks, we recommend using the function from the side menu, because it allows you to void a number of checks at once.
To void checks
- Select Payables Payments Void Checks. The Void Check filter appears.
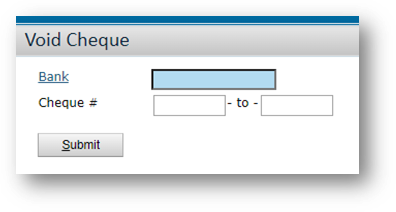
- Select a bank and enter a range of check numbers.
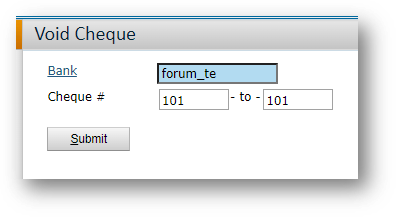
- Click Submit.
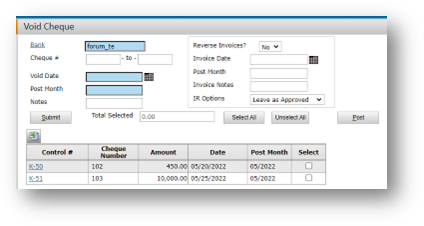
- Select the checks you want to void.
- Complete the fields in the top part of the screen.
- Click Post
