The purpose of this document is to serve as a guidance to various processes in Construction Manager and highlight the important steps/ information required for Construction Manager
Processes
1. Creating new jobsThe workflow for creating new jobs is as follows:

To create a new job, click on the Add button from the dashboard
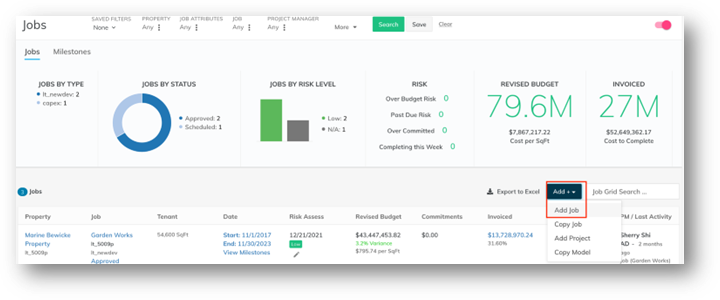
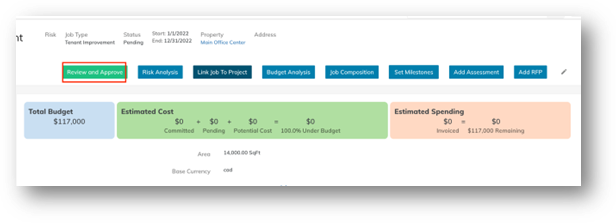
The following important information should be entered to filled in to create a job
- Job Code
- Job name
- Job Type
- Area
- Start and End date
- Property
- Budget
- Milestones
- Risk profile
- Attachments to the job, if any
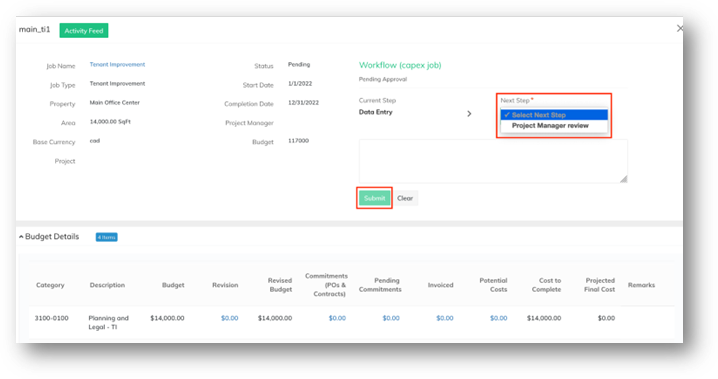
To send the job for approval to VP, click on Review and Approve. On the next screen select next step and click on submit
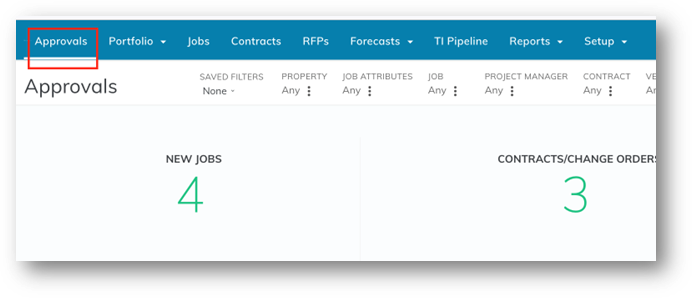
2. Approval by VP
In most of the cases, an email would be received by the approver if a job, contract, revision or change order is sent for approval. Also, anything requiring approval by VP would appear in the Approval tab once the VP logs in the system.
Under the approval tab, navigate to the job requiring approval and click on Review and Approve button
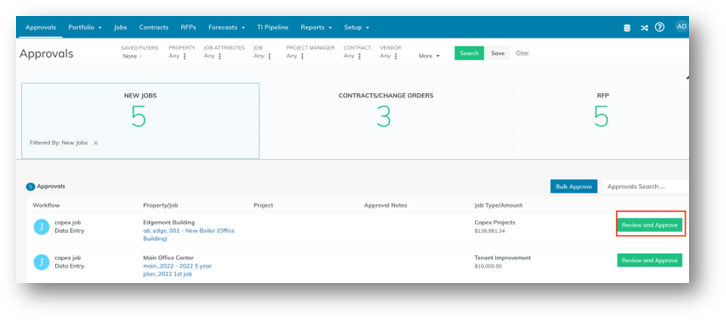
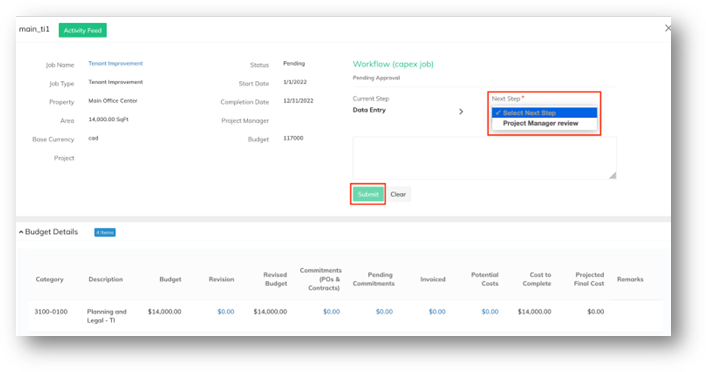
On the next screen, select next step and click on Submit.
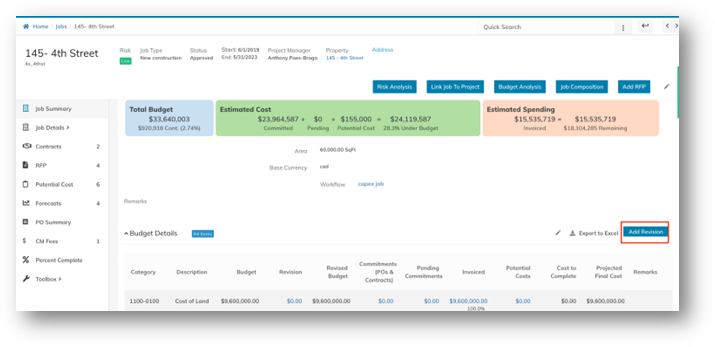
Once the job is approved, any changes to the budget can only be made by creating a job revision.
3. Job Revision

To add a revision, navigate to the job for which the revision is to be created. After navigating into the job, click on revision button.
There are three types of revisions:
|
Job Revision Type |
Explanation |
|
Scope Change |
This revision is to be created when there is an increase or decrease in overall job budget.
|
|
Budget Revision |
This revision is be created for re-allocating the budgets from one category to another. The overall job budget in this case remains the same.
|
|
Contingency |
This revision is be created for re-allocating the budgets from contingency category to another expense category. The overall job budget in this case remains the same.
|
The remaining process for sending the revision for approval and approval of the same by VP is similar to the process given above for a new job.
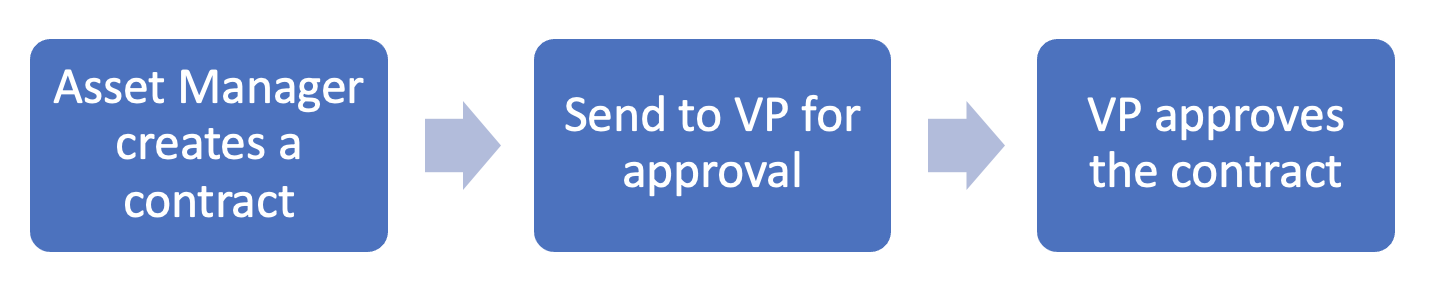
4. Adding contracts
Contracts when issued to the contractor, can be added to the job. The process for creation of contract and approval process is as follows:
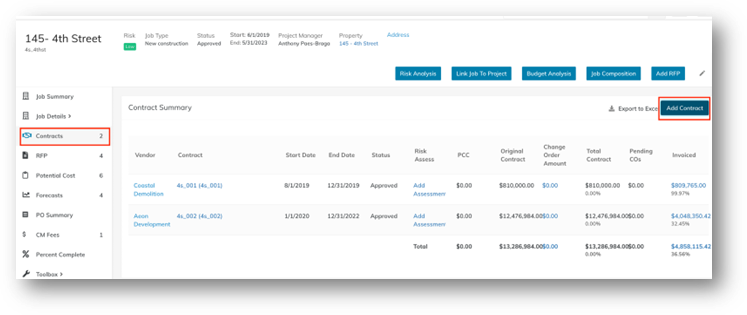
To add a contract, navigate into to the job and click on the Contracts tab on the left. Click on Add Contract button to add a new contract
Important data entry fields on the contract:
- Contract code and Description
- Vendor
- Start and End date
- Area in sqft
- Retention/ Holdbacks if applicable
- Trade
The remaining steps for sending the contract to approval and approval by VP is similar to the steps as provided for the job
A change order can be added by navigating into the contract and clicking on Add Change order button. The details to be entered and the approval process is similar to creating a new contract.
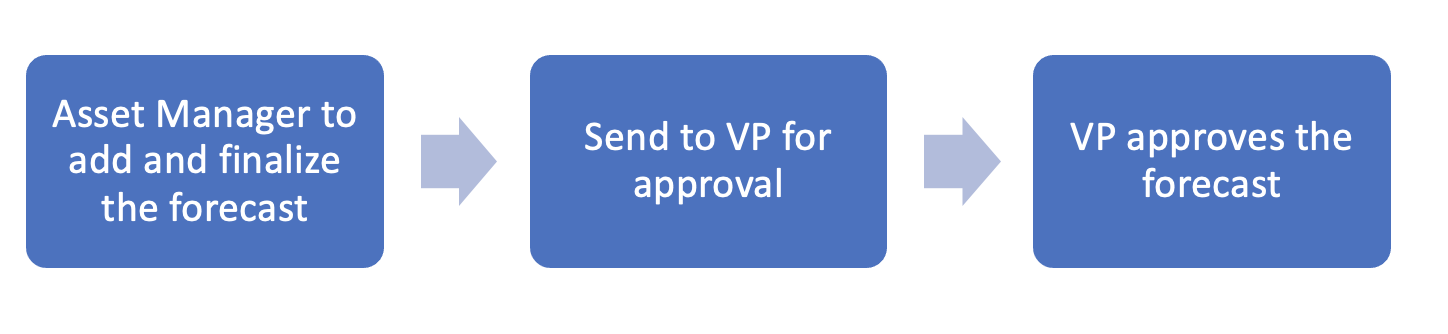
5. Monthly forecasting
To add a forecast, following process needs to be followed.
To add a forecast, navigate into the job and click on Forecast tab on the left. Click on Add Forecast to add a new forecast.
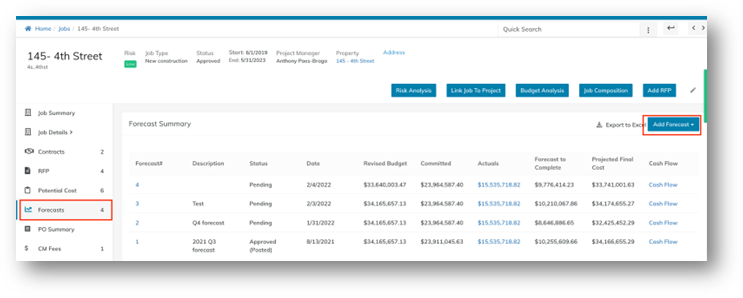
There are 2 ways to add a forecast. If a new forecast is to be added without copying over any of the previous forecast, click on New Forecast button. If the previous forecast is to be copied over, click on copy prior. Clicking on copy prior button, allows the user to select the forecast to be copied over.
Important data to be entered:
- Description
- Post month – This is the month up to which actual financial figures are to be loaded.
- Click on Load Actuals button to load actual financials
Once the forecast is added, the system calculates the variance as Cost to complete – (Actual Costs + future costs spread over the job period). The variance can be spread using the following method:
|
Spread Method |
Explanation |
|
Leave |
Leaves the variance in the forecast and does not spread the variance.
|
|
Variance +1 |
Allocates all the variance to the immediate next month
|
|
Variance in last month |
Allocates all the variance to last month of the forecast
|
|
Straight line |
Equally allocates the variance for all months to the end of the job.
|
Selecting the spread method at the top of the monthly spread applies the same method of spread to all the category lines.
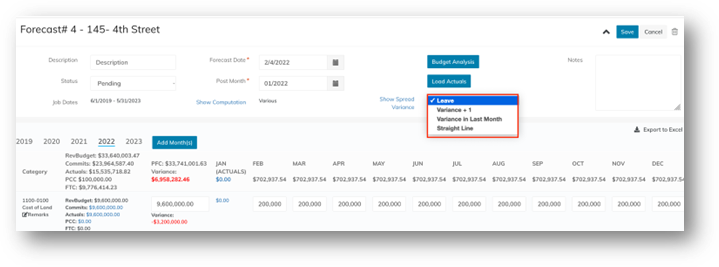
For line by line spread, click on the Show Spread Variance ink and a similar box is displayed for each category line.

Note: Once the variance has been spread using a particular method, it cannot be reverted. The only way to adjust the spread is manually changing the numbers for each month.
Click on save to save the forecast.
The approval process is similar to the process given for jobs.
6. Capital planning
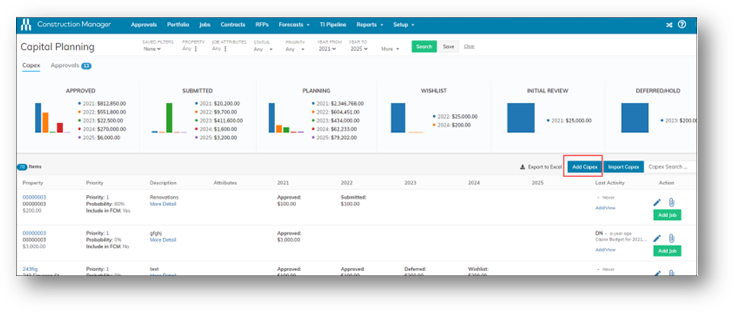
To add capex requests:
From the top menu, select Forecasts > Capital Planning. The Capital Planning dashboard appears. Click Add Capex. The Add Capex screen appears.
Following data fields are required:
- Property
- Description
- Priority
- Brief Narrative
- Amounts for each of the 5 years.
The status for each year can be changed by clicking on the edit button and selecting the appropriate status from drop down box for each year
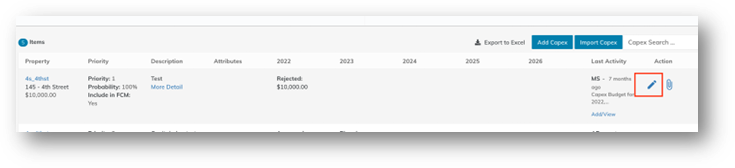
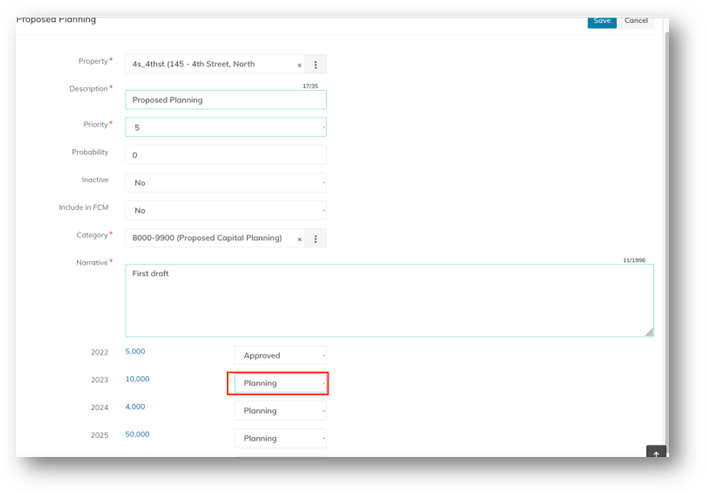
Once the status is set to submit, it sends the capital plan for approval.
The person approving the capital plan can approve it from Approval tab within the capital planning page.
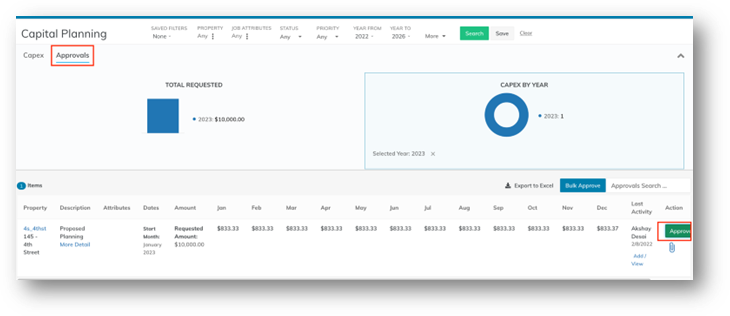
Note: There is no custom workflow available for approval of capital plan. The approval is controlled through status drop down box. Selecting submitted status from the drop down sends the capital plan for approval.
Once the capital plan is approved, an Add Job button would appear. This would allow the user to create a new job which is attached to capital plan. The steps after clicking on add job button are same as creating a new job.
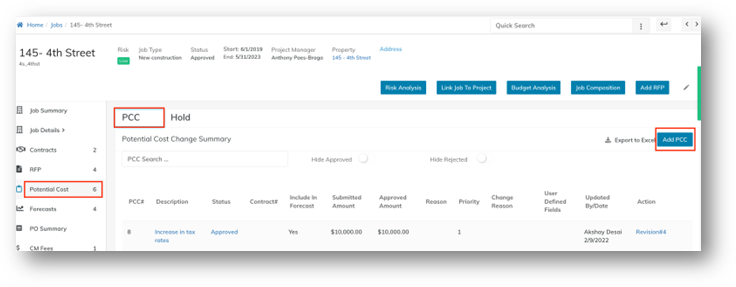
7. PCC and Hold
PCC and Hold are the placeholders to track extra costs which come up during the job which may require a job revision or a change order. The difference between both is as follows:
- PCC tracks extra costs which are not budgeted for. Approving the PCC allows the user to create a scope change budget / job revision.
- Hold tracks extra costs which are already included in budget, but for which contract has not been issued. Approving a Hold creates a new contract.
To add a PCC or Hold, navigate into the job and click on Potential Cost from the left-hand side
Select between PCC or Hold and click on Add button to add new PCC or Hold
Important data entry steps
- Description
- Category wise amounts of PCC
- Trade for creating new Holds
The status of PCC and Hold is managed from the drop-down box (similar to capital plan) as custom workflow is currently not available.
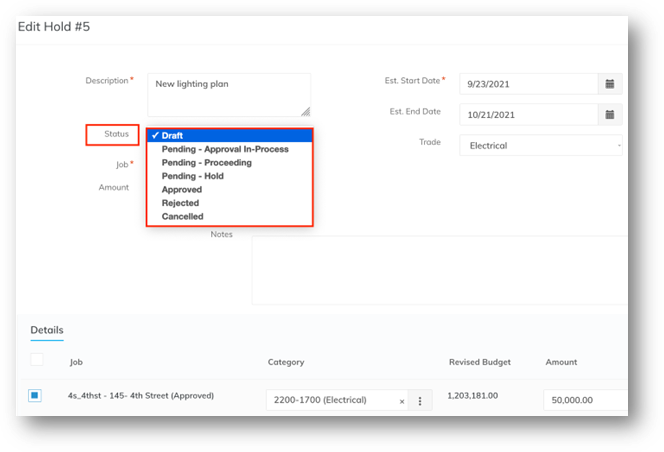
Once the PCC or hold is approved, an Add Revision button for PCC and Convert button for Hold becomes available. The process after that is same as the process for creating a new job or a new contract.
8. Reporting
Job Analytics
There are standard analytics available in Construction Manager. These reports are also available in Voyager.
To access the analytics reports, go to Reports >> Analytics from the top
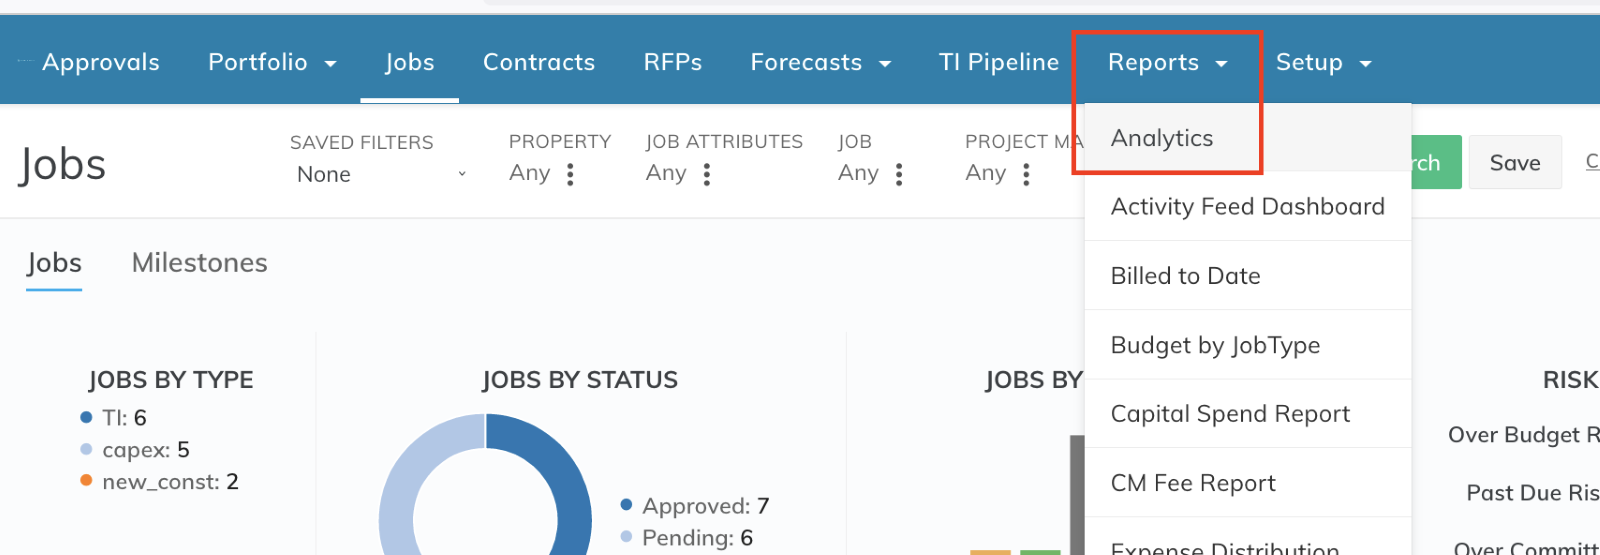
Select the report from the left on the next screen.
Once the report is selected, select the relevant filters, and click on Display to view the report
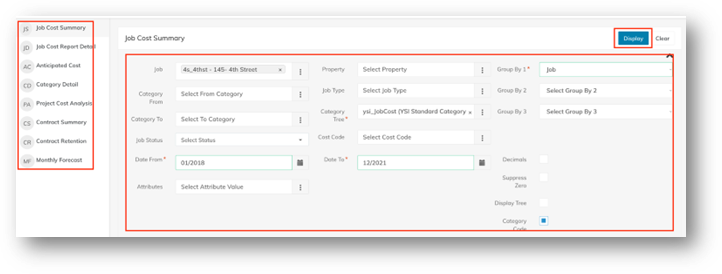
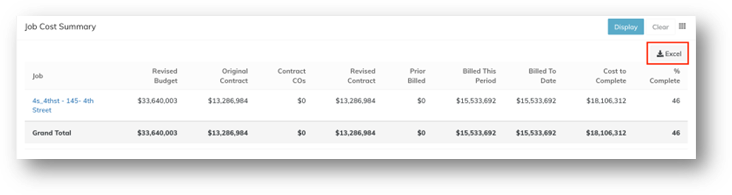
The report can be exported to excel by clicking on the Excel button
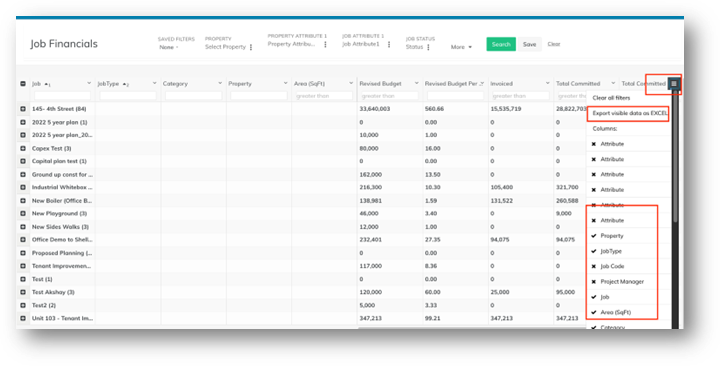
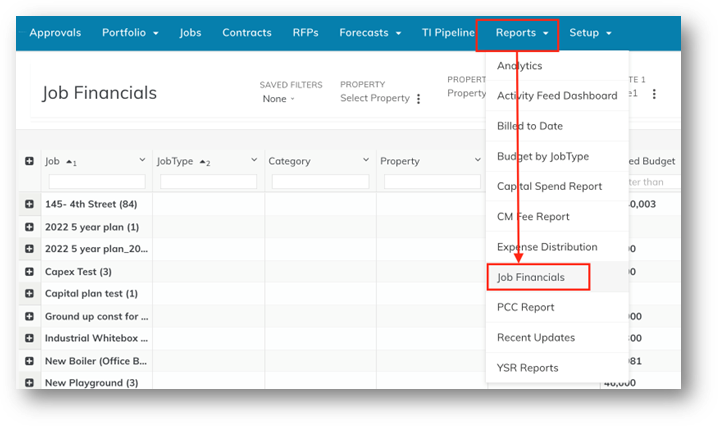
Job Financials
These reports are available only in Construction Manager. These reports can be customized by the user, and allow you to add/ remove certain columns, rearrange the columns, grouping the data and exporting it to excel.
To access the Job financials, select Reports >> Job Financials from the top
To group the data on a particular column, click on the columns and select group from the options available
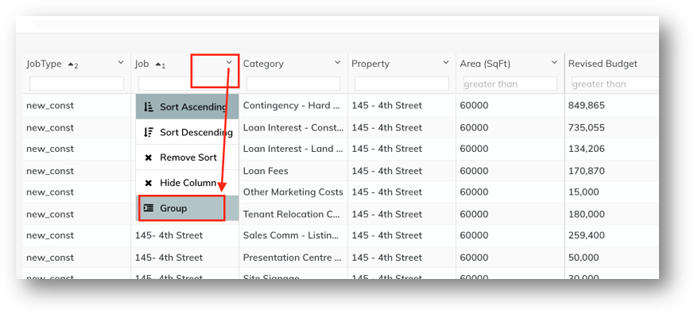
Adding/removing columns or exporting to excel can be done by clicking on the button on the right side.